Category — Recipes

Making Meals with Plants
When I cook with plants I like to focus on getting as much exciting flavour out of them as I can. I don’t like to think I’m restricting myself and believe a shift in perspective is all it takes to enjoy the full potential of plants when you give them your full attention.
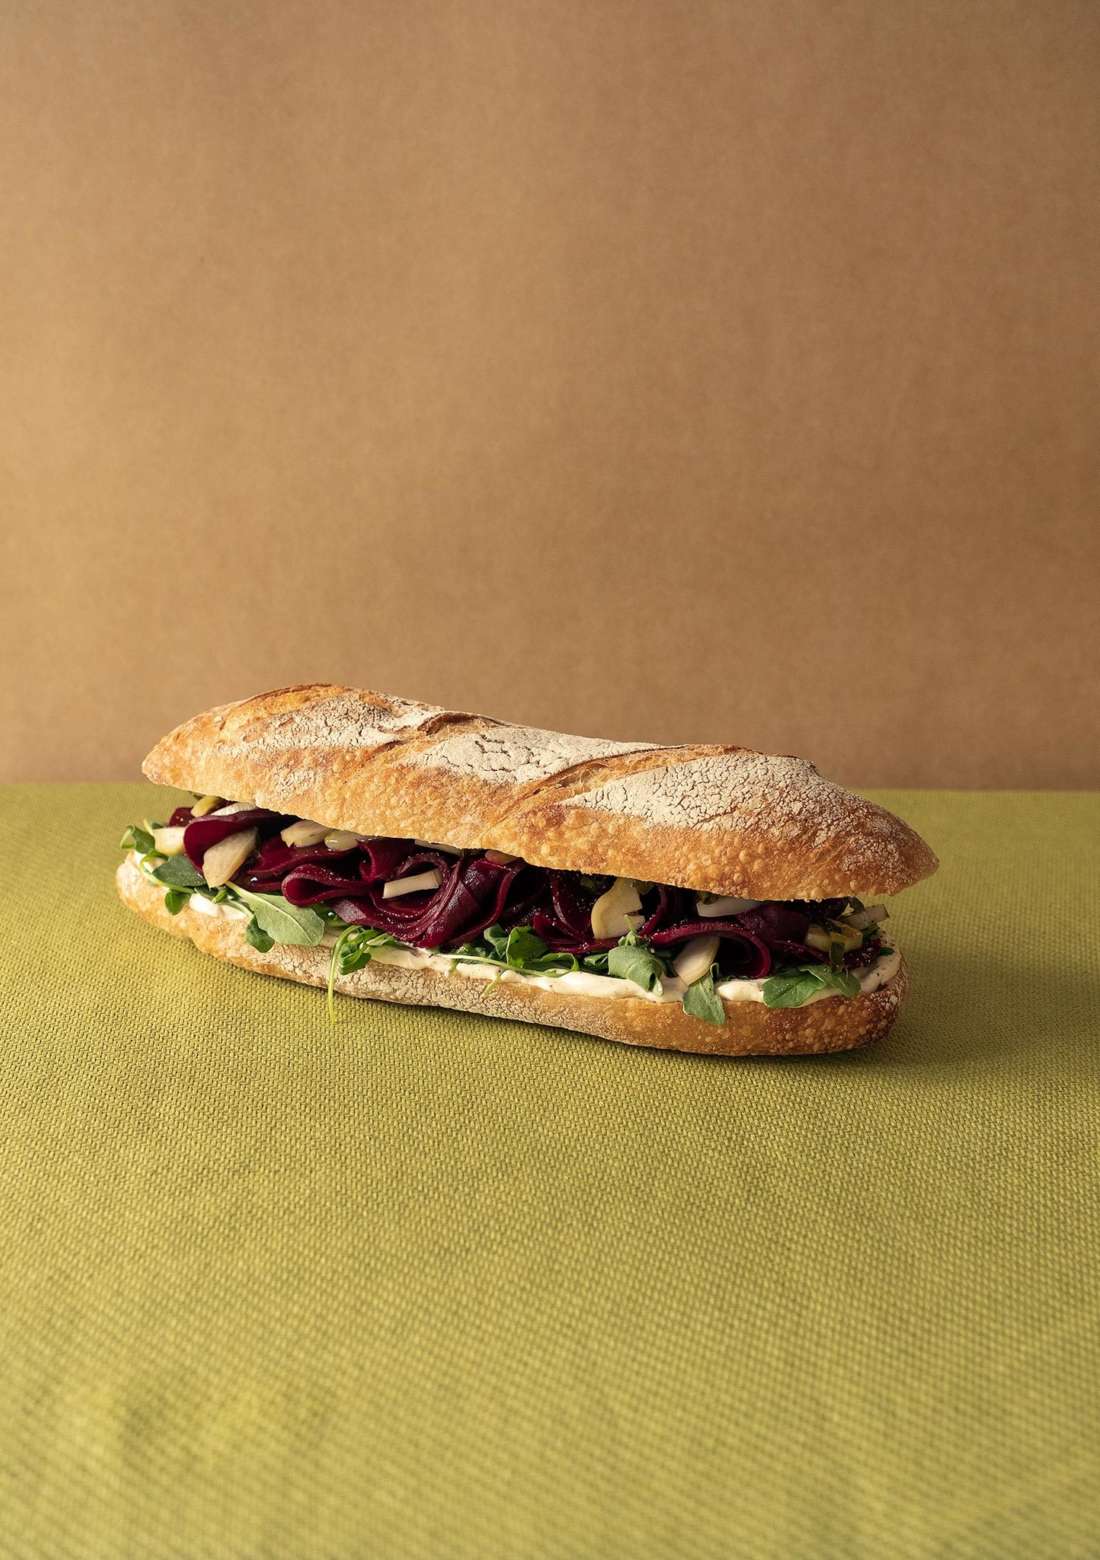
The following recipes are components for meals that can be made ahead of time and stored in the fridge. They come together in my head most naturally as a sandwich. Just think about it; thinly sliced smoky beetroot, a generous smear of quinoa mayo, a juicy tomato, a handful of pickled stalks, cracked pepper, maybe a few fresh greens from the garden, all slapped between two slices of fresh sourdough- sounds good to me!
However, they shouldn’t be limited to sandwich fillings, there is so much more you can do with them. The beetroot makes a pretty beefy pizza topping just quietly, or sliced into a salad with some nuts and a sharp vinaigrette. I highly recommend scattering some pickled stalks across avocado on toast with a dose of hot sauce, and they are a fail proof way of jazzing up a coleslaw or potato salad paired with the quinoa mayo. Drizzle that mayo on everything, like grilled some summer veggies - zucchini, asparagus, green beans - topped with a little lemon zest, pine nuts and a few torn mint leaves from the garden. Dip chips in it. Honestly, it’s good on just about anything.
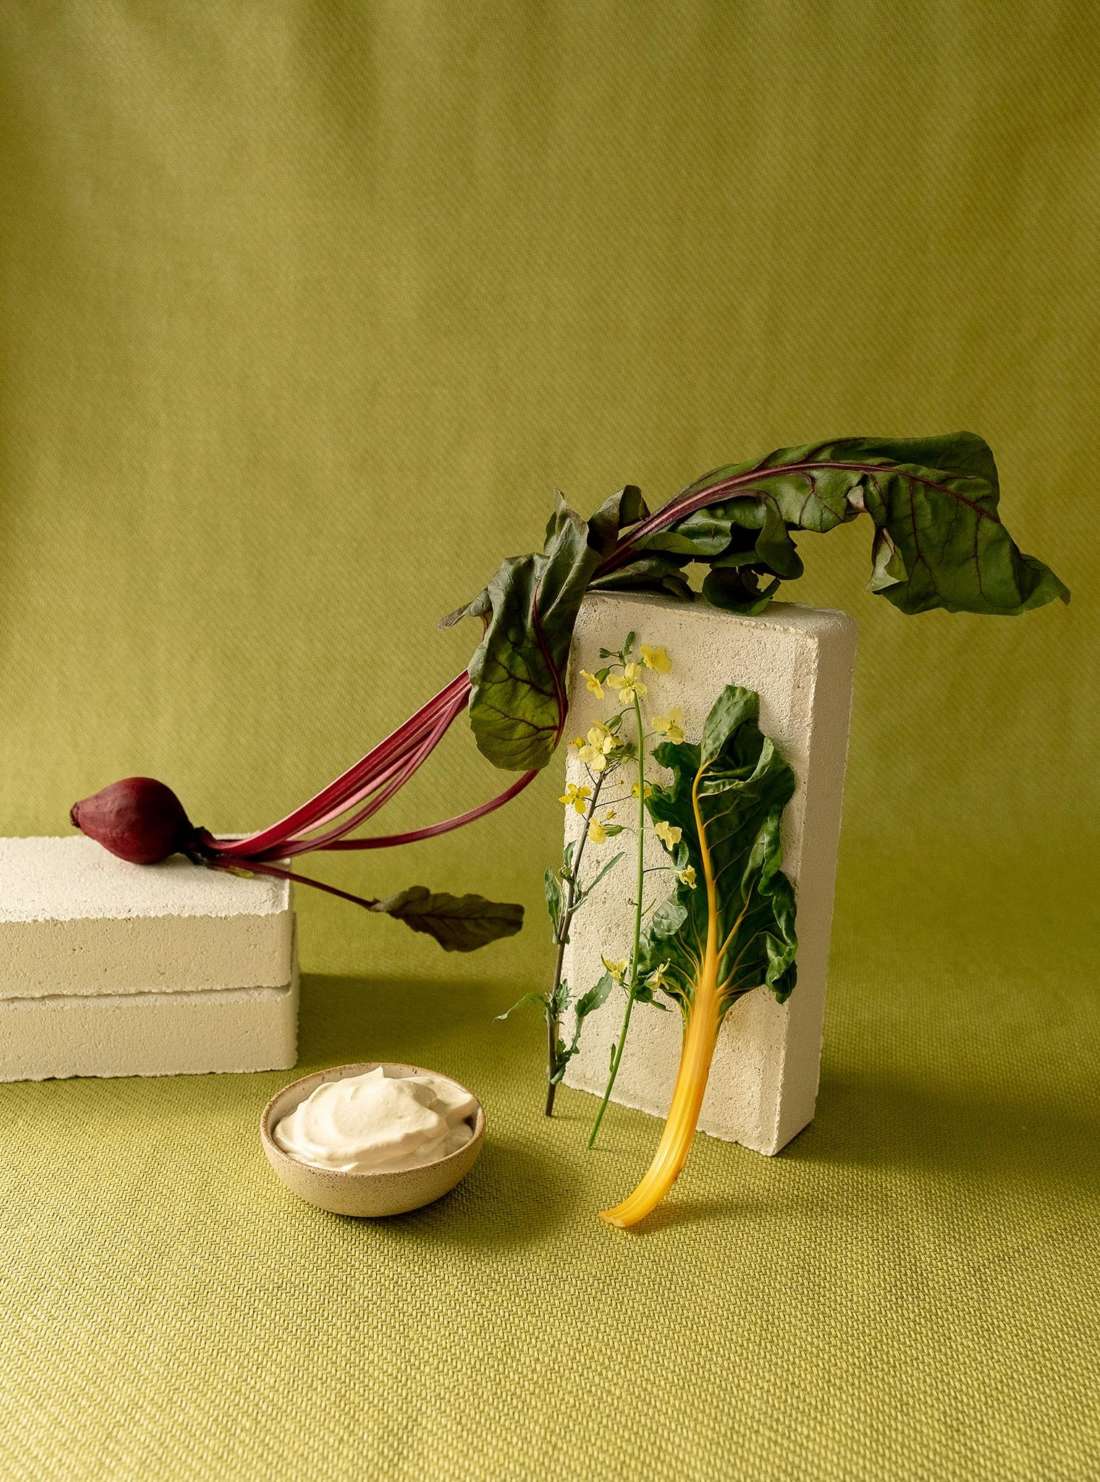
Smoked and cured beetroot
Start by laying wood chips evenly on a large baking tray (I bought some applewood chips from a BBQ store online). Pour some water over them just enough to dampen the wood chips. The water will be soaked into the chips by the time you use them.
Place a wire cooling rack over the wood chips.
Peel about 4 medium sized beetroot and cut them into halves. Lay them out evenly across the wire rack. Cover the whole thing with tin foil, making sure to leave no gaps.
Place the tray across an element of the stove. This can be done on any hot surface whether it’s the base of an oven, a hob, barbecue or an open flame. Turn it up to high. The wood chips will heat right up and start to smoulder on the bottom of the tray filling it up with smoke. Leave it on the heat for roughly 20 minutes before removing it from the heat and allowing it to cool while still covered. Remember that beetroot is quite dense and therefore will take a bit of time to soften. Keeping it covered during the cooling process is important as it will also give it a chance to continue cooking and to take on more smoke flavour.
Once the tray has cooled, unwrap the foil and inspect your smoky beets! At this point trim off any potentially charred bits that might’ve touched the heat by accident, toss them all in a bowl and add about 1 tbsp of flaky sea salt per beet. Sea salt has a more subtle flavour than rock salt or table salt which is why it’s perfect for curing. We want the salt to draw the moisture out of the flesh without adding too much of an overpowering salty flavour. Mix them all together, massaging it in lightly, you’ll see the moisture start to come out. Let them sit in the salt for an hour or two. Give them a good rinse and pat them dry. They will keep in this state for a couple of weeks in an airtight container in the fridge. I have found that they’re best after a week once the flavour has aged slightly. If you find they are a touch salty for your taste you can soak them in cold water for about an hour before eating them just to wash out a bit of the excess salt. These make a pretty nice sandwich, just saying.
Pickled stalks
I love pickles. Pickling things that will otherwise go to waste is such an easy and delicious way to enjoy something that would otherwise be in the bin. What a win! When trimming stalks off silverbeet, cauliflower, broccoli, or radishes - anything, the list could go on - keep them aside and make some pickles.
To make your pickle liquid your measurements are going to depend on the quantity of stalks you have. You should make enough liquid to generously cover the stalks in an airtight jar. The ratio should be as follows:
1/3 water
2/3 vinegar – I prefer apple cider for its softer flavour
A dash of sugar
A dash of salt
Flavourings of your choice – I like to add a couple of smashed garlic cloves and a sprig of dill. Maybe some bay leaves, peppercorns and allspice. You decide.
Basically you want to taste your pickle liquid and have, first and foremost, a tangy acidity from the vinegar that makes you a bit squinty when you taste it, then you want a nice balance of sweet and salty. Adjust this to your own preference. While you bring the liquid up to a boil you can begin preparing your stalks.
When preparing your stalks for pickling you need to wash them thoroughly. Keep in mind that some stalks are very tough or fibrous so you need to prepare them accordingly. For example silverbeet stalks have some serious fibres running through them. There’s nothing worse than munching into a stringy stalk, so make sure you slice across the fibre, into small pieces or slivers so that the fibres left are as short as possible. Once your stalks are prepared and ready to be pickled, prepare an airtight jar by running some boiling water over it to kill any unwanted bacteria. Throw all your stalks in and cover with boiling hot pickle liquid. Give the jar a little jiggle and make sure any air bubbles come to the top. Close the jar securely and allow to cool. This will be ready to enjoy within a few days and will keep indefinitely, only getting better with time.
Quinoa mayo
This tasty sauce is not only nutty and creamy, it is made from puffed quinoa and therefore provides a good bit of protein in the diet. Feel free to flavour this as you feel – it’s really good with a couple of chipotle chilli’s chucked in for good measure, or some mint leaves to freshen it up, you do you.
Take 40g of quinoa puffs – place in a very dry blender and blend until it reaches a fine powder consistency.
Add:
60g miso paste – any type is fine
200g soy milk – you could substitute the soy for an alternative plant milk but I personally like the way soy gives it a really creamy texture
1 tsp Dijon mustard
2 tbsp apple cider vinegar
Juice of 1 lemon
Salt and pepper to taste
Blend together and slowly add oil – I prefer rice bran for it’s neutral flavour but you can use whatever oil you like – roughly 200 ml or until the mayo thickens to your satisfaction. Assess the seasoning situation, add a little more salt or lemon if you think it needs.

By Plabita Florence. Photography by Ellen J Hemmings